
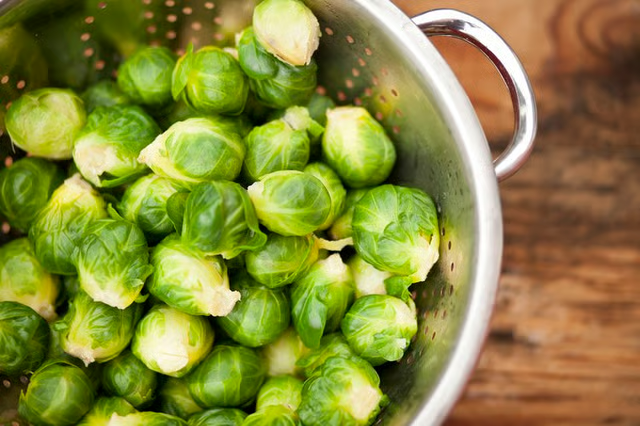
Resembling tiny heads of cabbage, Brussels sprouts provide a fall vegetable treat. Some folks find them too sulphurous in flavor, but when they're shredded and sauteed with bacon or roasted with olive oil to a deep brown, Brussels sprouts exude a nutty, charred flavor that speaks of fall cooking.
A batch of moldy sprouts ruins your recipe. Shop for them when they are in season, from late September through February. If you're purchasing from a farmers market vendor, ask when the Brussels sprouts were picked; they are usually best after the first hard frost.
For the freshest options look for:
- a bright green exterior
- tight, bundled leaves
- and a firm feel.
Tips
Sprouts purchased on the stem are usually fresher than loose ones. They're less likely to have molded or spoiled.
Cut into a moldy sprout and you may never want to purchase the vegetable again. Save yourself by avoiding any Brussels sprouts that are:
- yellowed or brown in color
- have leaves pulling away from the center
- feel squishy.
If you have Brussels sprouts with pits or cracks, they may have mold present inside that you isn't obvious on the outside. This type of mold thrives in warm or humid conditions, which is why buying sprouts after the first frost and during colder temperature times is best.
The smaller the Brussels sprout, the sweeter the flavor. Fat, large sprouts are usually more cabbage-like in flavor. Raw preparations of Brussels sprouts emphasize their chewy texture and intense flavor, so they're best steamed, boiled, roasted or sauteed.
Once you get a batch of quality sprouts home from the market, store them properly to prevent mold growth. They'll keep for about two weeks in the refrigerator, but the sooner you use them the better. If you've purchased them on the stalk, you can pluck them and place the loose balls in a bowl or storage container without a lid. Don't remove the outer leaves until you're ready to cook them, even as they wilt; these leaves will protect the interior as they sit.