
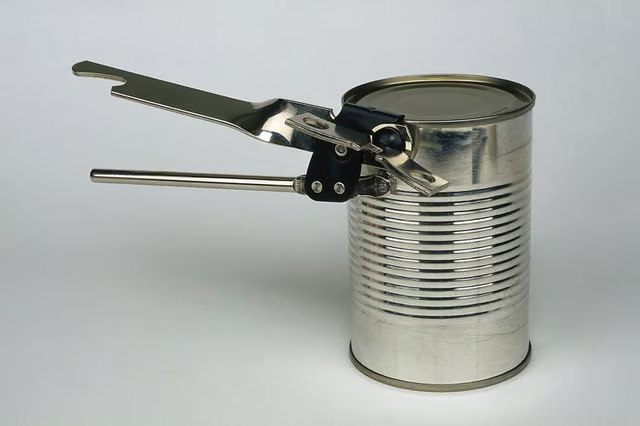
Home canning is a popular way to preserve delicious home-cooked goods or fresh garden produce at any time of year. Many people enjoy storing home canned good for their own consumption during colder seasons. Other uses for home canning include sales and display purposes. Although glass containers are most commonly used, anyone can use tin cans with the right equipment.
Locate a commercial-grade pressure canner either online or at a hardware store. The metal cans can be ordered online from a site such as http://www.houseofcans.com/. Metal can sealers or seamers can also be ordered online from sites such as http://www.ehcan.com/CanSealers.html.
Check the recipe for the foods you wish to can. Prepare them according to the directions. Also prepare any liquid you'll be adding to your cans, such as brine or syrup. Gather any preservatives that your recipe calls for.
Pack the cans according to what kind of food you are canning. If dry-canning, arrange the food in the most space efficient way possible in the can. If wet-canning, fill the jars up with the food product, leaving a certain amount space at the top according to your specific instructions. Add the canning liquid, then press on the mixture with a utensil to ensure there are no air pockets.
Place your tin cans and their lids in their proper respective places in the can sealer according to your sealer's specific instructions. Turn the crank to create seals on the cans. Make sure that each can is sealed tightly.
Put your pressure canner on your stove. Lay the cans inside the pressure canner, then close the lid tightly. Take the rocker off of the lid.
Raise the temperature of the stovetop to at least 116 C to ensure that bacteria are removed. Allow steam to build and flow fully for a few minutes, then replace the rocker onto the vent. Consult your recipe to determine the exact temperature, processing times and pressure specifications. Modify the pressure canner continuously during processing to ensure correct execution.
Shut off the heat, wait a few minutes, then open the pressure canner cautiously. Remove the cans with tongs, and allow them to cool slowly for 24 hours.